When Webflow publishes a page, it generates HTML that relies on:
- External stylesheets — all the visual styling lives in a .css file hosted on Webflow's CDN, not in the HTML itself
- CSS classes — elements like
newsletter-heroortext-color-legacyare just labels that point to rules in that external stylesheet - JavaScript — Webflow loads jQuery, animations, and other scripts to power interactive features
Email clients — Gmail, Outlook, Apple Mail — don't load external stylesheets or run JavaScript. If you paste Webflow's HTML directly into Mailchimp, you get unstyled, broken output. The fix is to translate the Webflow HTML into self-contained HTML with inline styles — everything the email needs to look right, baked directly into the HTML itself.
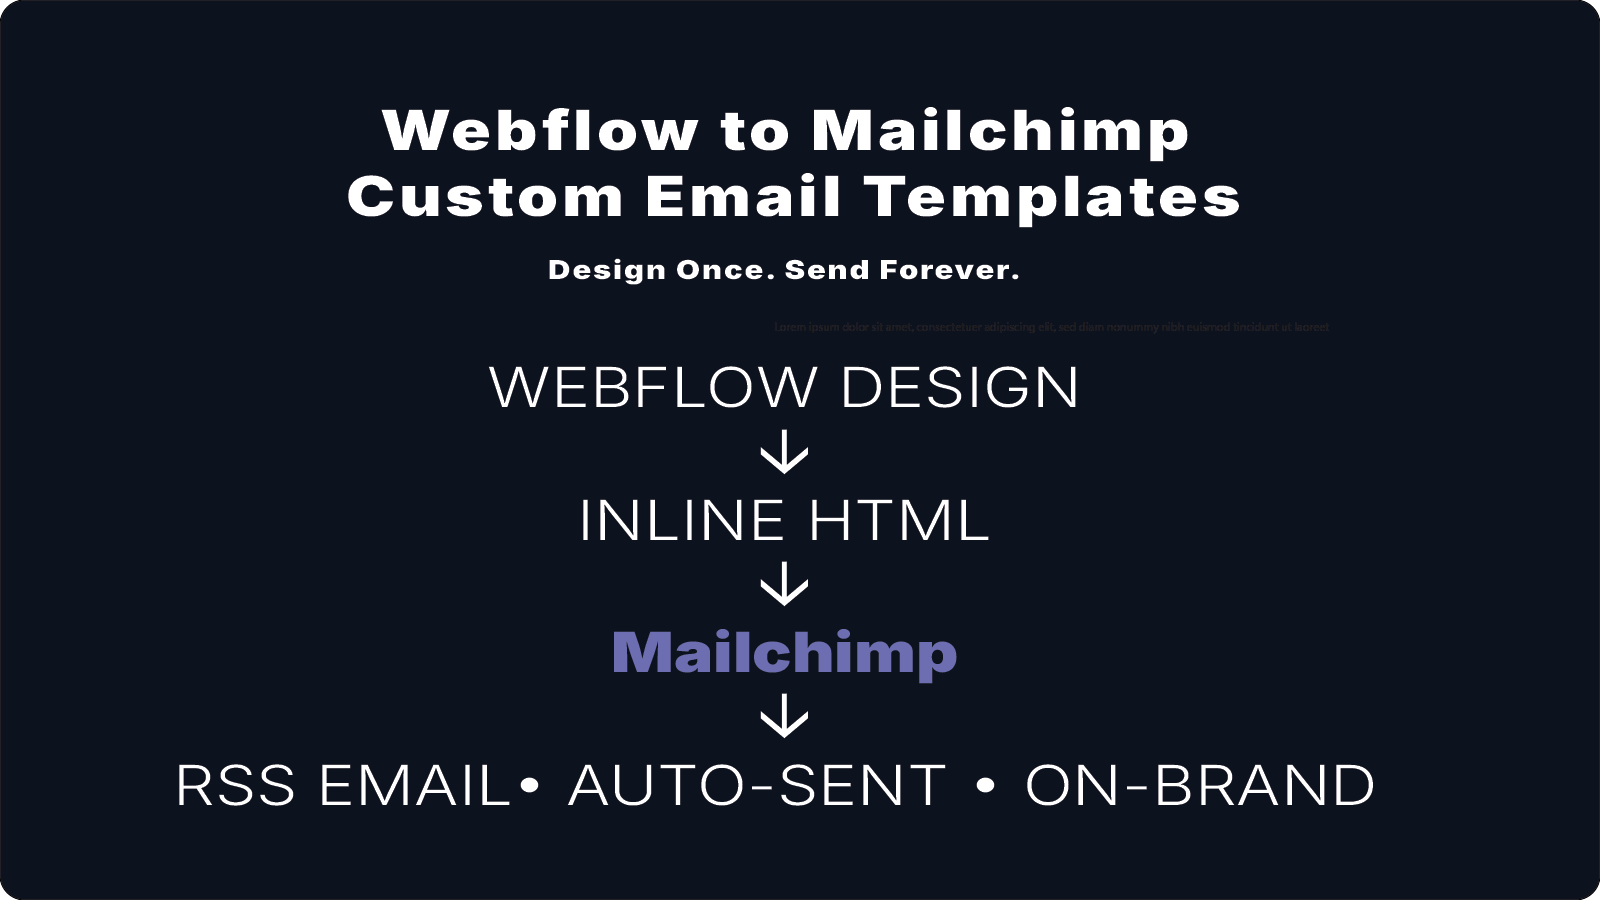
Step 1: Design Your Email Layout in Webflow
Build the email layout as a page in Webflow. This gives you full visual control using tools you already know, and lets you preview exactly how it will look before you translate it. Use your site's actual colors, fonts, and spacing. Common sections include:
- A hero with a background image and newsletter title
- A content block where the article title and body will appear
- A footer with your logo and unsubscribe links
At this stage, don't worry about Mailchimp — just get it looking right in Webflow. Keep the layout simple. Complex multi-column layouts are notoriously hard to get right across email clients, especially Outlook.
Step 2: Inspect the Computed Styles in DevTools
Once your Webflow design looks right, you need to extract the actual CSS values from it. Here's how:
- Publish your Webflow page and open it in a browser
- Right-click any element and choose Inspect to open browser DevTools
- In the Elements panel, click on an element (e.g. the hero div)
- In the Computed tab (not Styles), you'll see the final resolved values — actual pixel sizes, hex color codes, font names, and spacing that Webflow's CSS is applying
Write down or copy the values you need: background image URLs, font sizes and weights, colors, padding and margin values, border radius. These are what you'll use when writing your inline styles.
Webflow's image URLs follow the pattern https://cdn.prod.website-files.com/[site-id]/[image-id]_[filename]. You can copy these directly from DevTools and use them in your email HTML.
Step 3: Rebuild the HTML With Inline Styles
Rebuild each section of your email using plain HTML with all styles written inline — no classes, no external stylesheets, no JavaScript. Email clients strip out <style> blocks and ignore class-based CSS. The only styling that reliably works across Gmail, Outlook, and Apple Mail is style="..." written directly on each element.
Hero section
<div style="min-height: 200px; padding: 60px 20px 20px; border-radius: 15px;
  background-image: linear-gradient(transparent, rgba(0,0,0,0.3)),
  url('YOUR-IMAGE-URL-HERE');
  background-size: cover; background-position: 50% 50%, 50% 0%;
  background-repeat: no-repeat;">

  <h1 style="font-size: 48px; font-weight: 700; text-align: center;
    color: #C89B4A; margin: 0 0 12px;">Your Newsletter Name</h1>

  <div style="text-align: center;">
    <a href="https://your-site.com" style="display: inline-block;
      background-color: #ffffff; color: #6e7488; padding: 15px 30px;
      border-radius: 10px; font-weight: 700; text-decoration: none;
      width: 320px; max-width: 320px;">View Online</a>
  </div>
</div>
Content section (with Mailchimp RSS tags)
<div style="padding: 48px 20px; border-radius: 15px;
  background-color: rgba(226,231,241,0.3);">

  <h2 style="font-size: 32px; font-weight: 700; text-align: center;
    margin: 0 0 12px;">*|RSSITEM:TITLE|*</h2>

  <div style="color: rgb(110,116,136); line-height: 1.6em;">
    *|RSSITEM:CONTENT_FULL|*
  </div>
</div>
Footer section
<div style="background-color: rgb(9,11,25); padding: 24px; text-align: center;">
  <img src="YOUR-LOGO-URL-HERE" width="120" alt="Your Logo"
    style="display: inline-block; max-width: 100%;">

  <div style="color: rgb(150,156,170); font-size: 14px; margin-top: 12px;">
    <em>Copyright © *|CURRENT_YEAR|* *|LIST:COMPANY|*, All rights reserved.</em><br>
    You can <a href="*|UPDATE_PROFILE|*" style="color: rgb(150,156,170);">update your preferences</a>
    or <a href="*|UNSUB|*" style="color: rgb(150,156,170);">unsubscribe</a>.
  </div>
</div>
Step 4: Understand the Mailchimp RSS Merge Tags
The merge tags below are what make your email auto-populate with new content. Leave them exactly as written — Mailchimp replaces them with real content at send time.
*|RSSITEM:TITLE|*— the title of the latest RSS item*|RSSITEM:CONTENT_FULL|*— the full body content of the RSS item*|RSSITEM:URL|*— the URL of the RSS item*|CURRENT_YEAR|*— the current year (for copyright)*|LIST:COMPANY|*— your organization name from Mailchimp settings*|HTML:LIST_ADDRESS_HTML|*— your mailing address (required by law)*|UNSUB|*— the unsubscribe link (required by law)*|UPDATE_PROFILE|*— link for subscribers to update preferences
Step 5: Common Pitfalls to Avoid
Background images with gradient overlays
Use the CSS shorthand background-image with both a gradient and your image URL separated by a comma. The gradient goes first and acts as an overlay:
background-image: linear-gradient(transparent, rgba(0,0,0,0.3)), url('your-image.jpg');
Increase the 0.3 opacity value (up to 1.0) to make the overlay darker and text more readable.
Controlling background position
When you have two background layers, background-position takes two pairs of values. To shift the image upward in the frame:
background-position: 50% 50%, 50% 0%;
Don't increase min-height to control cropping
It's tempting to increase the hero's min-height to show more of the background image — but this breaks Mailchimp's template editor layout. Use background-position instead.
Always use absolute image URLs
Always use full URLs (https://cdn.prod.website-files.com/...), never relative paths. Email clients fetch images from external servers and can't resolve relative paths.
Step 6: Add the Template to Mailchimp
- In Mailchimp, go to Campaigns → Email templates
- Click Create template
- Choose Code your own → Paste in code
- Delete any default code and paste in your HTML
- Click Save and exit and name your template
Step 7: Connect It to an RSS Campaign
- In Mailchimp, go to Campaigns → Create campaign
- Choose Email → Automated → Share blog updates
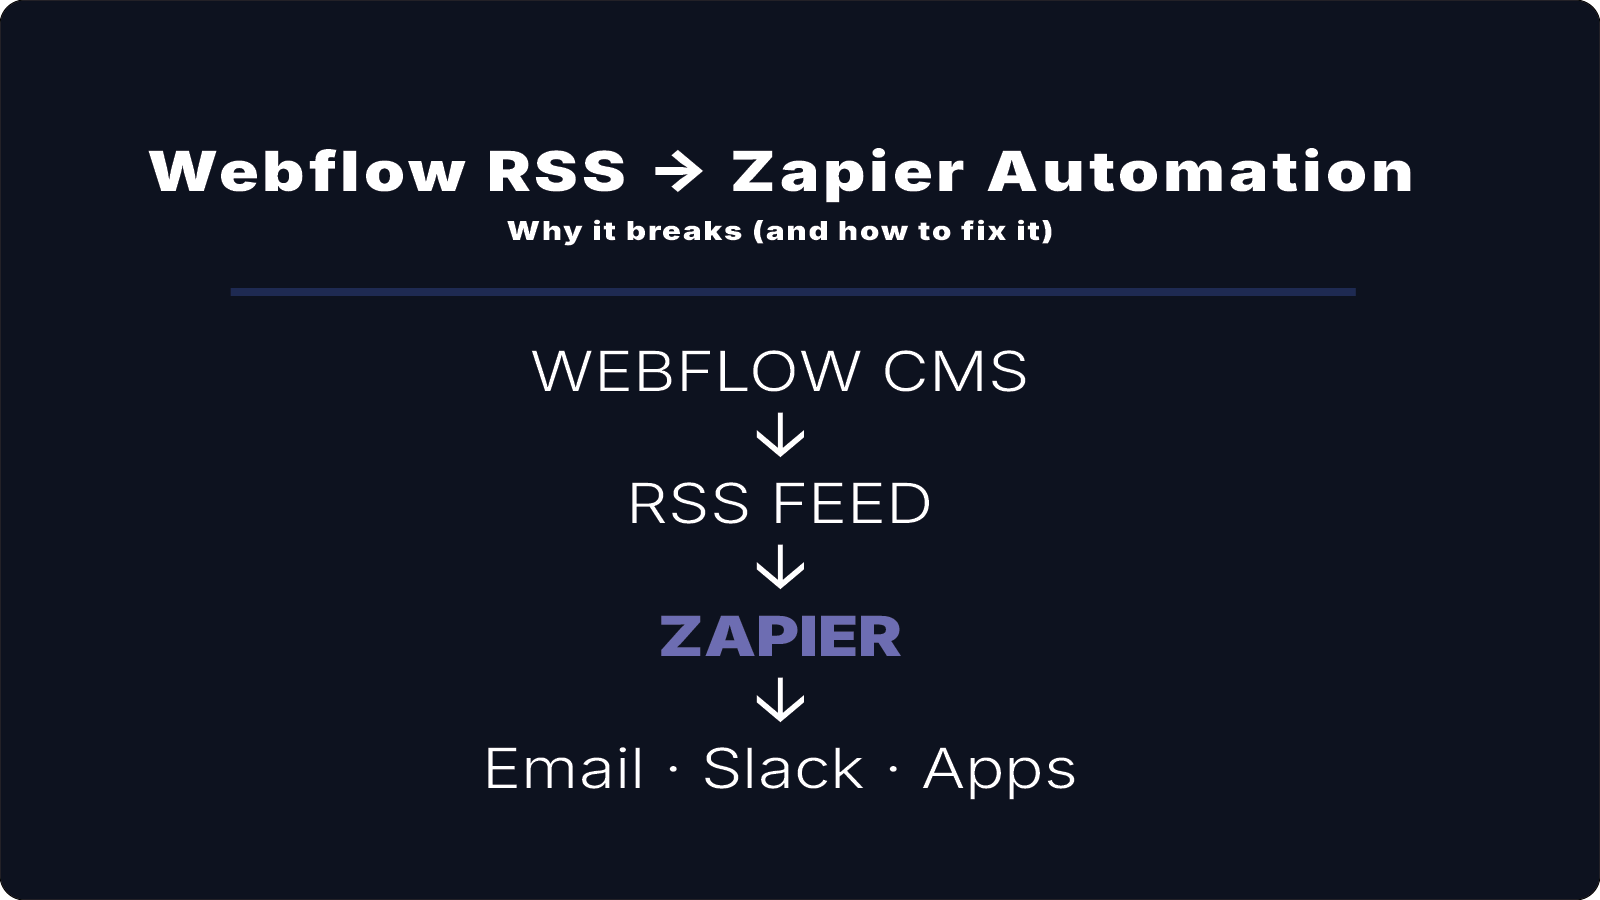
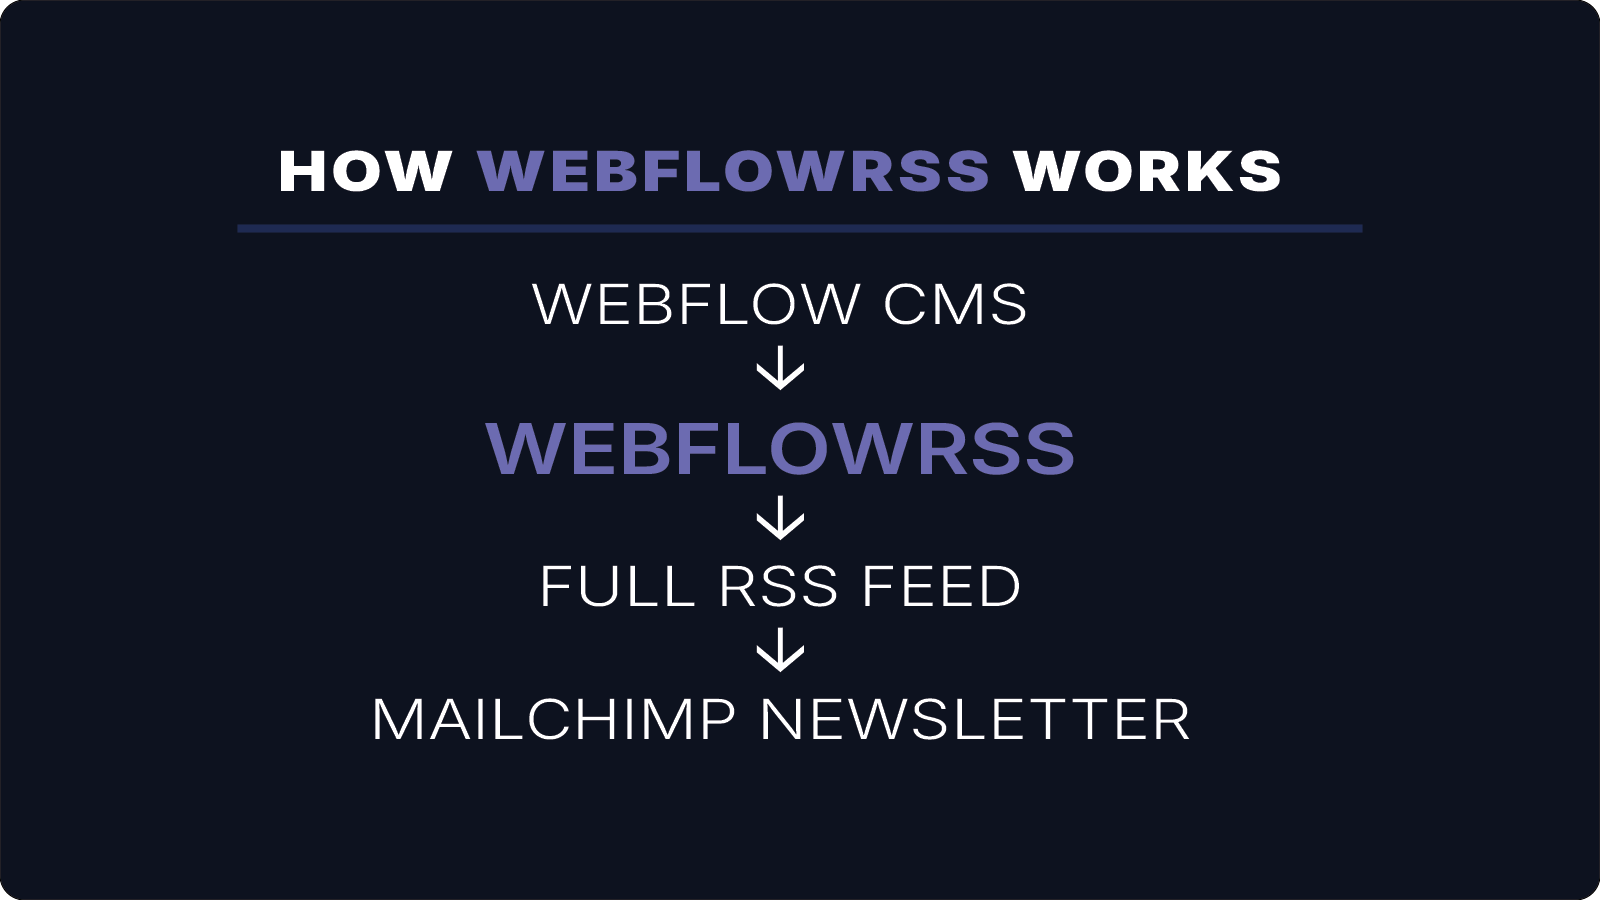
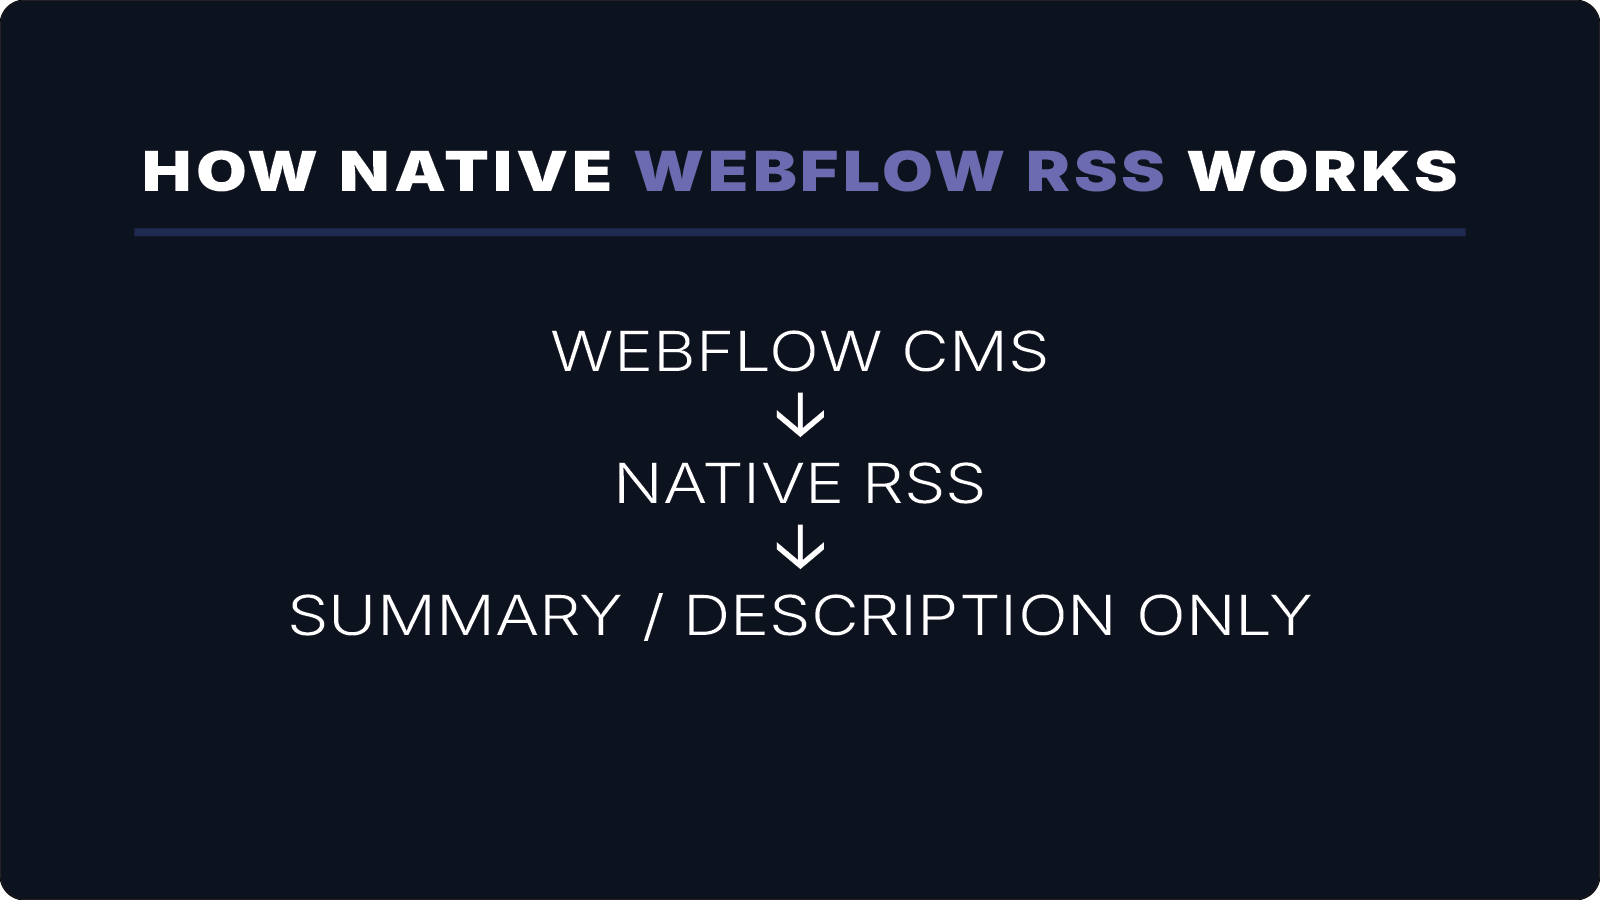
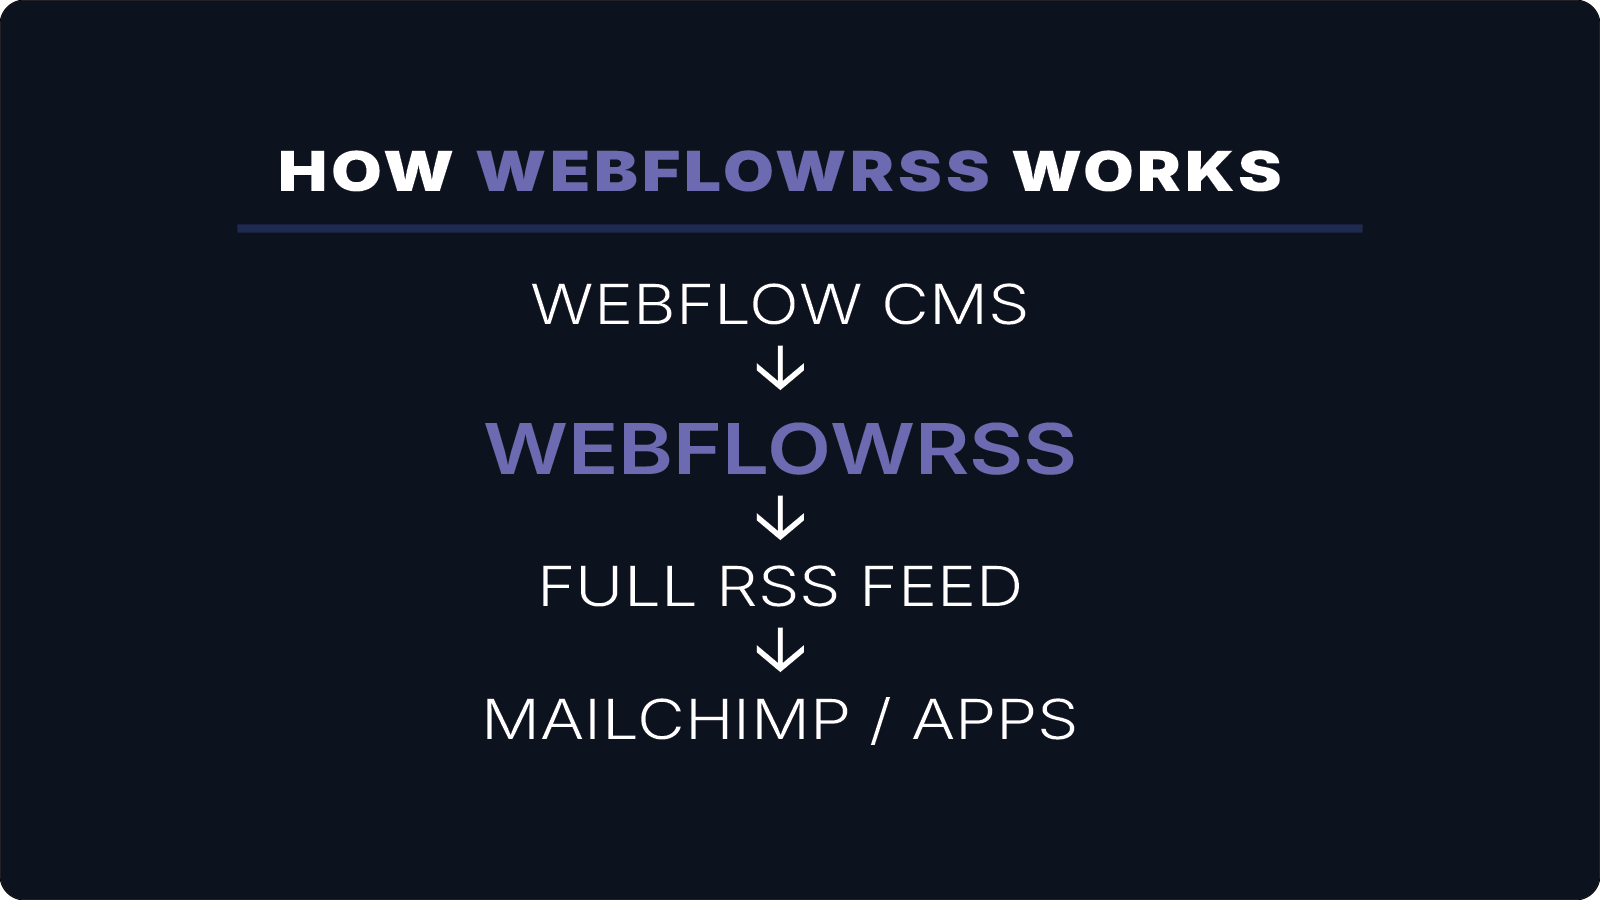
- Enter your WebflowRSS feed URL — this is the full-content feed generated by WebflowRSS, not Webflow's native RSS URL. Webflow's native RSS only includes titles and summaries; your WebflowRSS feed includes the complete article body so the full content appears in the email. (Don't have a feed yet? Request setup here.)
- Set your send schedule (daily, weekly, etc.)
- When prompted to select a template, choose the one you just created
- Complete the campaign setup and activate it
Mailchimp will check your RSS feed on the schedule you set and automatically send a new email whenever new content is published — populated with the title and body from your latest Webflow CMS item.
Why Maintain Both a Webflow Page and a Mailchimp Template?
You might wonder why bother with a Webflow version at all. A few reasons:
- Design control — Webflow's visual editor is far easier to design in than Mailchimp's code editor
- Your own domain — a Webflow-hosted web version of your email lives at your URL and is indexable by Google; Mailchimp's "view in browser" link is hosted on Mailchimp's servers
- Source of truth — the Webflow page is where you refine the design; the Mailchimp template is the translated, email-safe version of it
The tradeoff is that changes to your Webflow design need to be manually re-translated into the Mailchimp template. For most organizations sending a consistent newsletter format, you set it up once and rarely need to touch it again.